Image Configuration
Now that the images are loaded into the browser, we can begin processing them.
Rotating the Image
The use of different microscopes or different chip orientations results in various orientational changes required of the images. This rotation section of the program allows images to be rotated into their desired orientation.
1.) Navigate to the Rotation tab on the right side of the screen and find the rotation options available. AtlasXbrowser supports both 45 and 90 degree rotations.
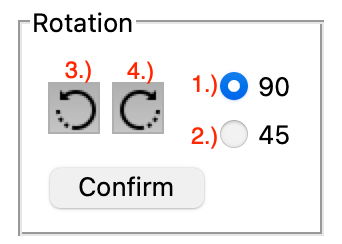
2.) Use the radio buttons (labeled 1 and 2 in image) to select the desired rotation angle.
3.) Select the rotation buttons labeled 3 and 4 to preform a counter-clockwise or clockwise rotation respectively.
4.) Once the image is properly oriented select Confirm.
Cropping the Image
In order to make the computational demands of future steps less intensive, the unnecessary excess in the image can be cropped out.
1.) Navigate to and click Activate under the Cropping tab on the right side of the screen. A red square will be shown.
2.) Use your mouse to drag the red square to encapsulate the section of the image enclosed in the neon box. Leave excess space between the neon lines on the image and the cropping box’s red lines.
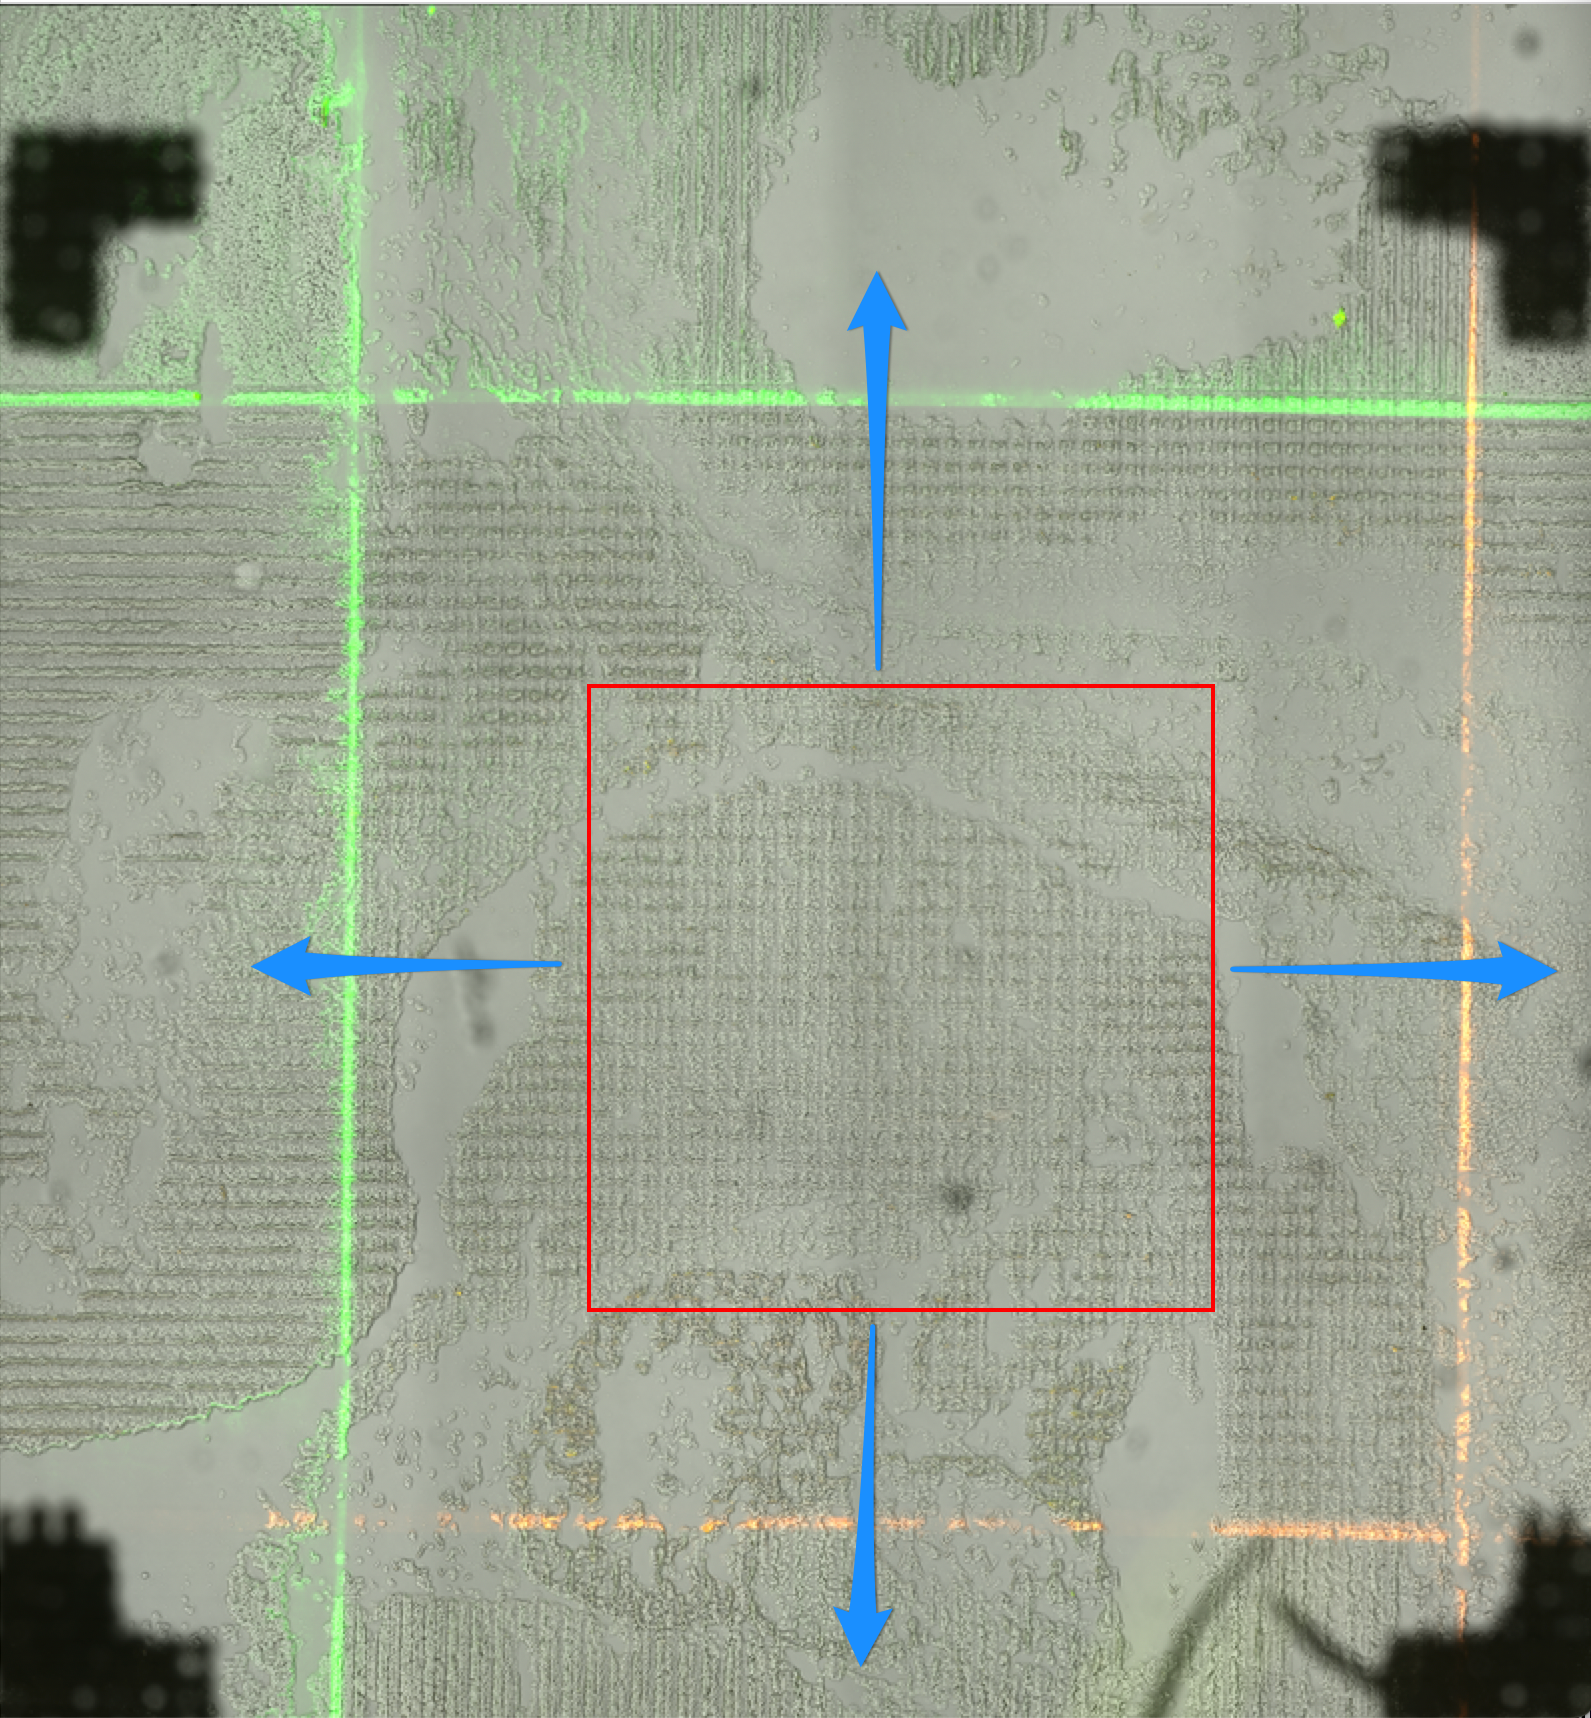
Above is the unexpanded cropping box. Drag to encapsulate the neon box (ROI) of the image.
Note: The red box forces itself to be kept as a square. This is why the the rest of the box changes shape upon moving one side or corner. Due to the criteria of being kept a square, it is also possible that in order to encapsulate the entire ROI the red cropping box goes off the screen. As long as the entire neon outlined ROI is contained within the area of the red cropping box, this is fine.
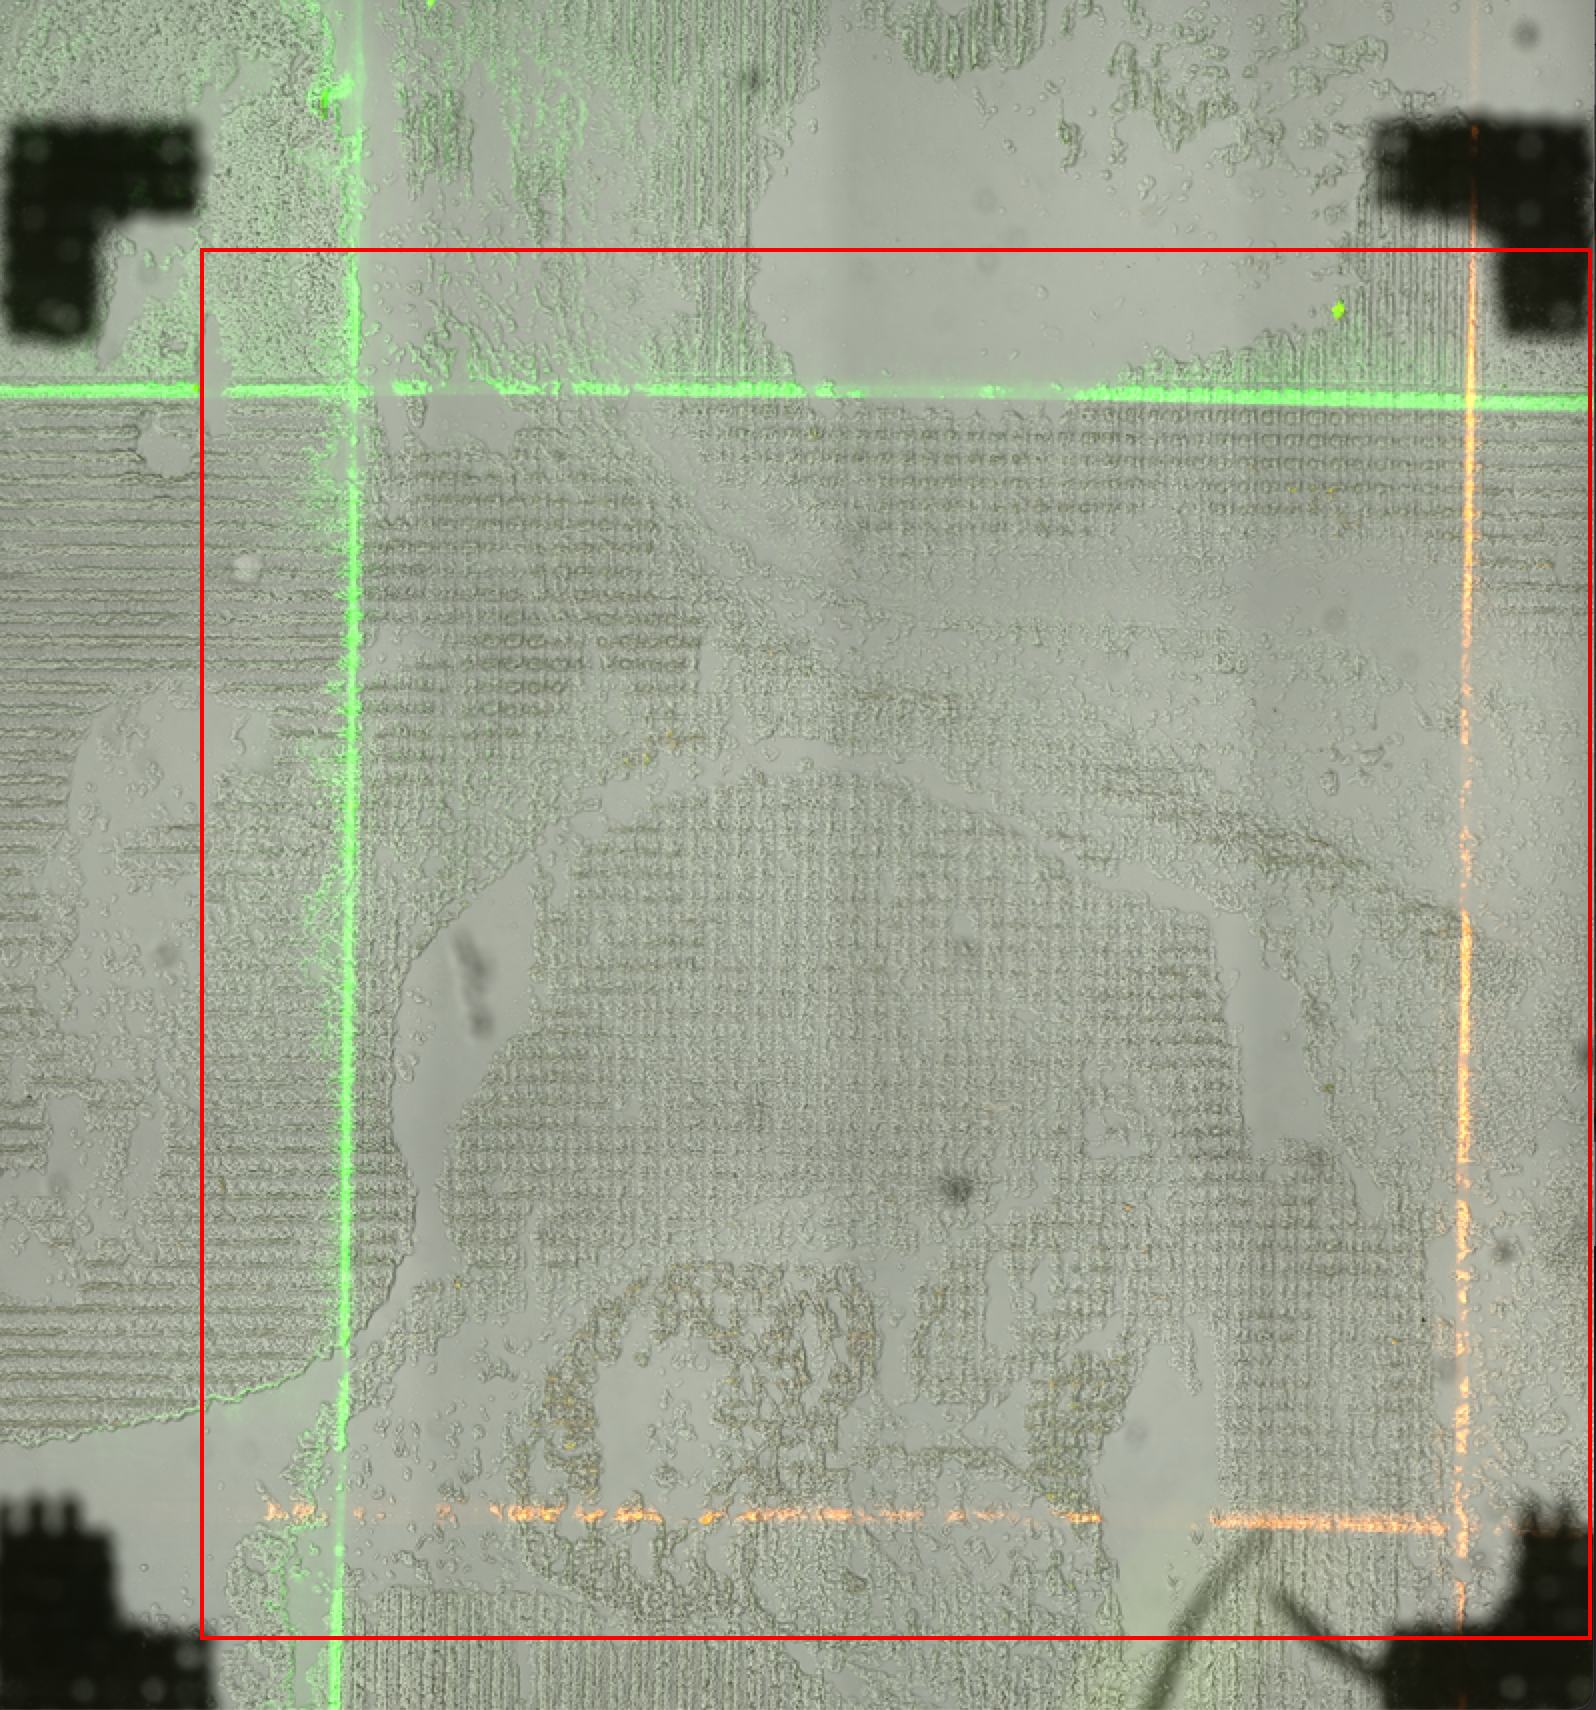
The cropping box has been configured to contain the entire ROI but still crop unnecessary excess from the image.
3.) Click Confirm under the Cropping tab on the right side of the screen.